Insulated Vinyl Siding: The Ultimate Guide for Homeowners
When it comes to choosing the right siding for your home, the options can be overwhelming. Each type of siding has its unique benefits, costs, and drawbacks. In this guide, we’ll explore the various types of siding available, with a special focus on insulated vinyl siding.
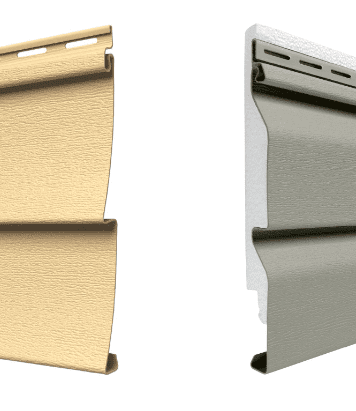
What is Insulated Vinyl Siding?
Insulated vinyl siding is an enhanced version of traditional vinyl siding, incorporating a layer of foam insulation that is bonded to the back of the vinyl. This added layer of insulation improves the siding’s energy efficiency, durability, and impact resistance.
Benefits of Insulated Vinyl Siding
- Energy Efficiency: The foam insulation helps reduce heat loss, keeping your home warmer in winter and cooler in summer. This can lead to significant savings on your energy bills.
- Durability: Insulated vinyl siding is more robust and can withstand impacts better than traditional vinyl siding, making it an excellent choice for areas prone to storms and hail.
- Low Maintenance: Vinyl siding requires minimal upkeep. It does not need painting and can be easily cleaned with a hose.
- Aesthetic Appeal: Available in various colors and styles, insulated vinyl siding can enhance the curb appeal of any home.
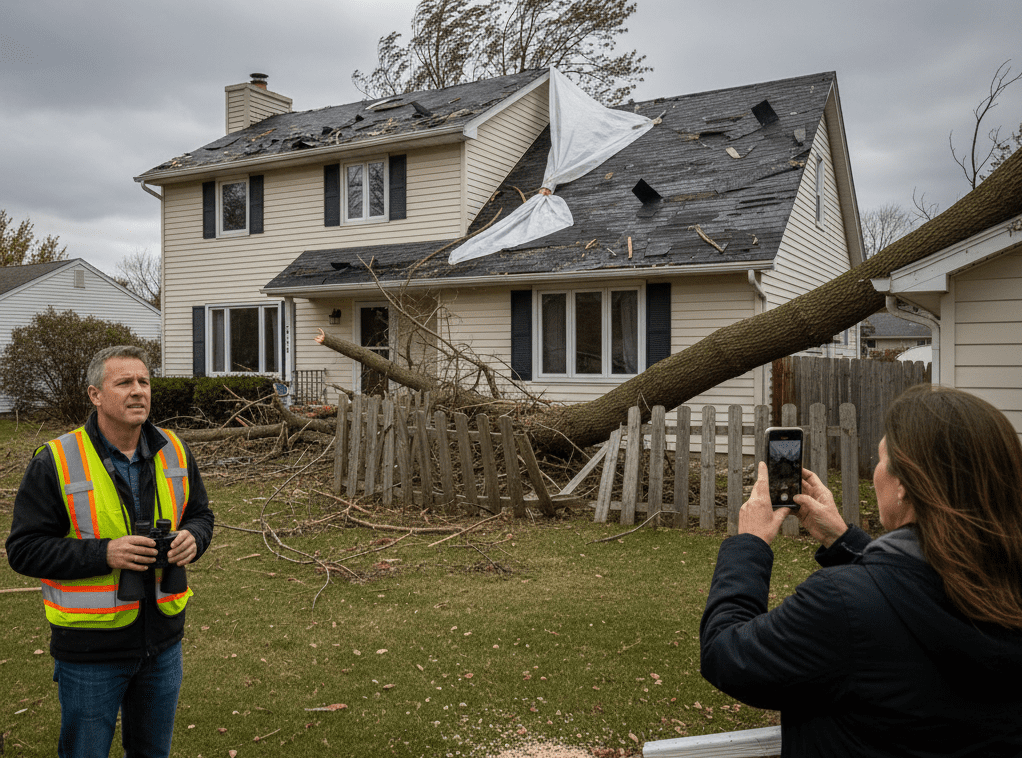
- Storm Damage Prevention: The additional insulation layer provides extra strength, helping the siding to resist dents and cracks caused by hail or debris during storms.
How Insulated Vinyl Siding Stands Up to Storms
In regions prone to severe weather, choosing siding that can withstand the elements is crucial. Insulated vinyl siding offers several advantages:
- Impact Resistance: The foam backing absorbs impact, reducing the likelihood of damage from hail or wind-blown debris.
- Reduced Noise: The insulation layer also acts as a sound barrier, reducing noise from heavy rain or wind.
- Improved Structural Integrity: The added insulation layer helps maintain the shape and integrity of the siding, preventing warping or sagging.
Insulated Vinyl Siding vs. Traditional Siding
Traditional Vinyl Siding:
- Cost: Generally cheaper than insulated vinyl siding.
- Installation: Easier and quicker to install due to its lighter weight and simpler structure.
- Maintenance: Low maintenance but can be prone to cracking in extremely cold weather.
- Energy Efficiency: Provides minimal insulation value.
Insulated Vinyl Siding:
- Cost: Higher initial cost due to the added insulation layer.
- Installation: Slightly more complex to install due to the foam backing, but still manageable for professional installers.
- Maintenance: Also low maintenance, with enhanced durability against impacts and weather conditions.
- Energy Efficiency: Significantly better insulation properties, leading to energy savings and improved home comfort.
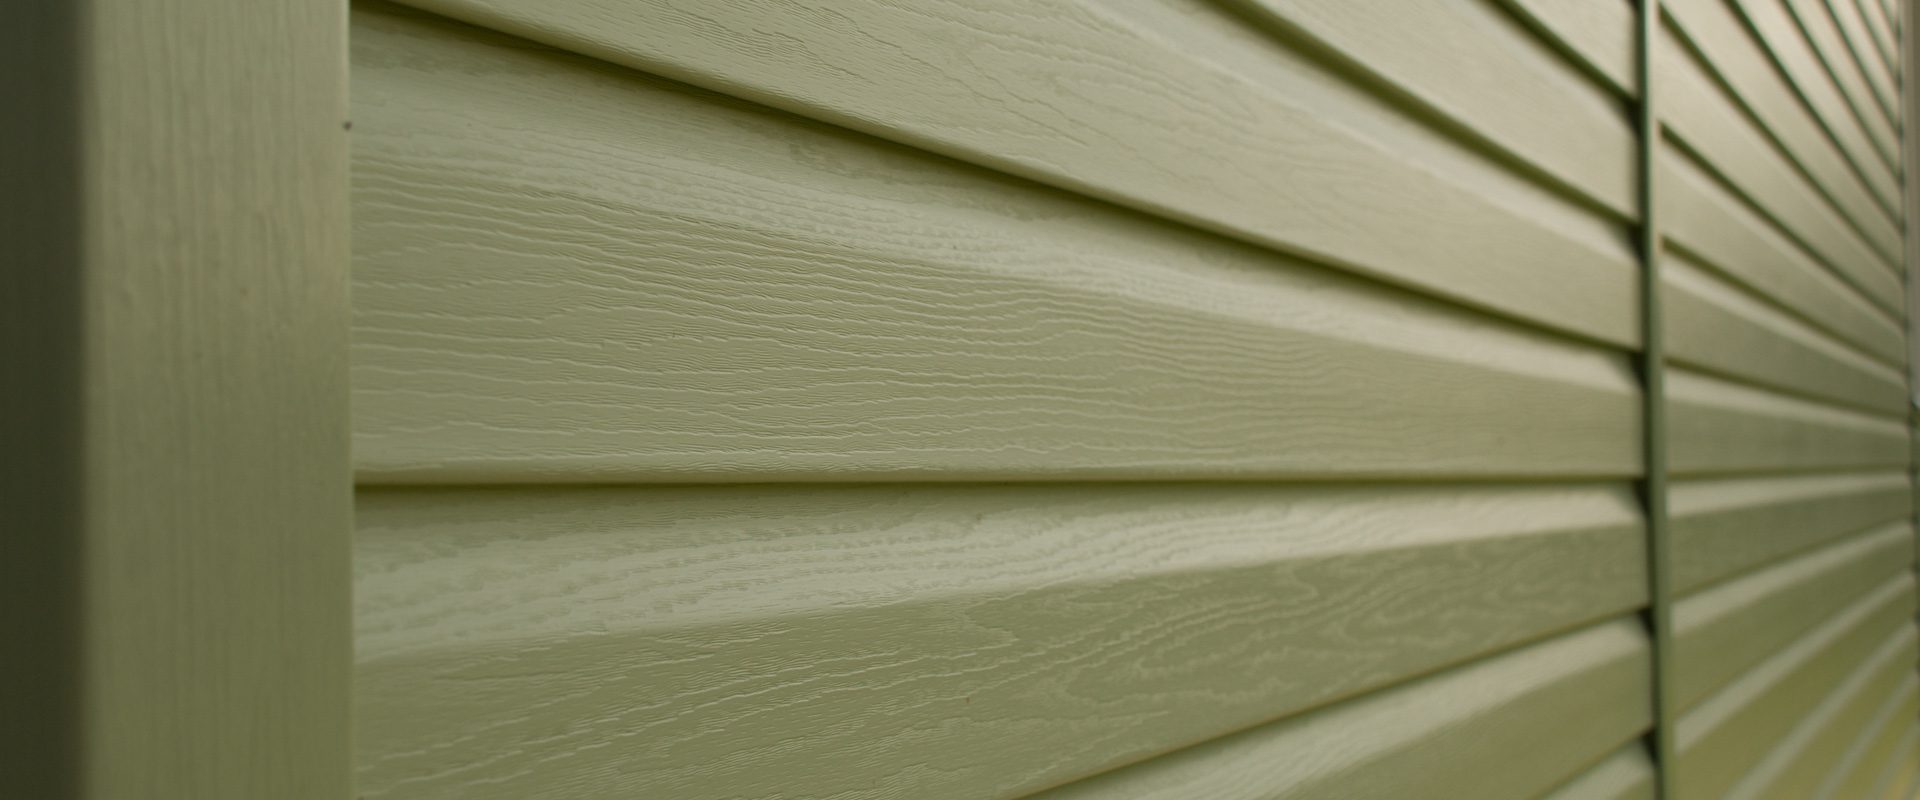
How Attractive is Insulated Vinyl Siding?

Insulated vinyl siding is available in a wide range of colors, textures, and styles. Whether you prefer the look of traditional wood grain, smooth finishes, or more contemporary styles, there are options to suit every taste. The insulation layer also helps the siding maintain its shape and appearance over time, preventing issues like warping and sagging.
Does Insulated Vinyl Siding Help Insulate?
Yes, the foam insulation in insulated vinyl siding adds a layer of thermal resistance to your home. This can reduce heat transfer through the walls, making your home more energy-efficient. According to the U.S. Department of Energy, improving insulation can significantly reduce heating and cooling costs, making insulated vinyl siding a smart investment for long-term energy savings .
How Easy is Insulated Vinyl Siding to Install?
While slightly more complex to install than traditional vinyl siding due to the foam backing, insulated vinyl siding can still be installed relatively quickly by professional contractors. The key is to ensure that the insulation layer is properly aligned and secured to maximize its benefits. For DIY enthusiasts, it’s recommended to consult with professionals or thoroughly research installation techniques to avoid common pitfalls.
How Long Does Insulated Vinyl Siding Last?
Insulated vinyl siding is designed to be durable and long-lasting. With proper maintenance, it can last 20-40 years or more. The added foam insulation not only improves energy efficiency but also enhances the siding’s structural integrity, making it more resistant to impacts, weathering, and wear over time .
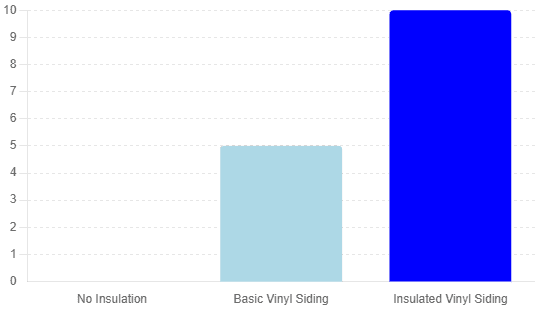
Does Insulated Vinyl Siding Affect Resale Value?
Yes, insulated vinyl siding can positively impact your home’s resale value. Potential buyers often look for homes with energy-efficient features, and insulated siding can be a major selling point. Additionally, its durability and low maintenance requirements make it an attractive option for homebuyers looking to avoid future renovation costs.
See chart below. By investing in insulated vinyl siding, you could gain up to 10% more on the resale of your home.
- National Association of Home Builders (NAHB) – Cost of Siding Materials
- Remodeling Magazine – Cost vs. Value Report
- U.S. Department of Energy – Insulation and Air Sealing
How Much Does Vinyl Siding Cost?
Here’s a comprehensive table comparing various types of siding, including insulated vinyl siding:
| Siding Type | Price per Square Foot | Pros | Cons |
|---|---|---|---|
| Insulated Vinyl | $4 – $12 | Energy efficient, durable, low maintenance, aesthetic | Higher initial cost than traditional vinyl |
| Traditional Vinyl | $2 – $7 | Affordable, low maintenance, variety of styles | Less impact resistant, can crack in extreme cold |
| Steel | $7 – $15 | Extremely durable, fire resistant, low maintenance | Can be prone to rust, higher cost |
| Wood | $6 – $12 | Natural look, can be painted/stained, good insulation | High maintenance, susceptible to pests and rot |
| LP SmartSide | $5 – $10 | Durable, impact resistant, treated to resist pests | Requires periodic painting, can be more expensive |
| James Hardie | $6 – $13 | Fire resistant, durable, aesthetic, low maintenance | Higher cost, requires professional installation |
| Fiber Cement | $5 – $10 | Durable, fire resistant, low maintenance | Heavy, requires professional installation, can crack |
| Aluminum | $3 – $6 | Lightweight, rust-resistant, low maintenance | Can dent easily, color may fade over time |
Understanding the R1 vs. R2 Rating System
The R-value is a measure of thermal resistance, indicating how well a material can resist heat flow. The higher the R-value, the better the material insulates. In the context of insulated vinyl siding, the R1 vs. R2 rating system is used to denote the insulation effectiveness of different siding products.
What is R1 Rating?
R1 Rating: This rating indicates that the siding provides an R-value of 1. This level of insulation offers basic thermal resistance, which is better than traditional, non-insulated siding but not as effective as higher-rated insulation materials.
Applications and Benefits:
- Basic Insulation: Suitable for climates where extreme temperatures are less common.
- Cost-Effective: Typically more affordable than higher R-value sidings.
- Energy Efficiency: Provides a moderate improvement in energy efficiency compared to non-insulated siding.
What is R2 Rating?
R2 Rating: This rating signifies that the siding provides an R-value of 2. This level of insulation offers significantly better thermal resistance compared to R1-rated siding, making it more effective at insulating a home.
Applications and Benefits:
- Enhanced Insulation: Ideal for regions with more extreme temperature fluctuations.
- Energy Efficiency: Offers better energy savings by reducing heat loss in winter and heat gain in summer.
- Comfort: Contributes to a more consistent indoor temperature, improving overall home comfort.
Comparison of R1 and R2 Ratings
| Feature | R1 Rating | R2 Rating |
|---|---|---|
| Thermal Resistance | Basic (R-value of 1) | Enhanced (R-value of 2) |
| Energy Efficiency | Moderate improvement | Significant improvement |
| Cost | More affordable | Higher upfront cost |
| Suitability | Mild climates | Extreme climates |
| Comfort Level | Moderate improvement in comfort | Higher improvement in comfort |
Why Choose Higher R-Value Siding?
Choosing a higher R-value siding, such as R2, provides several advantages:
- Energy Savings: Higher R-value sidings reduce the amount of energy needed to heat or cool your home, leading to lower utility bills.
- Increased Comfort: Better insulation helps maintain a consistent indoor temperature, enhancing comfort.
- Environmental Impact: Reducing energy consumption lowers your carbon footprint, contributing to environmental sustainability.
- Resale Value: Homes with better insulation can be more attractive to potential buyers, potentially increasing resale value.
Summary
Choosing the right siding for your home involves considering various factors, including cost, durability, maintenance, and aesthetics. Insulated vinyl siding stands out as an excellent choice for homeowners looking for a balance of energy efficiency, durability, and low maintenance. Its added benefits in preventing storm damage make it particularly appealing for those in regions prone to severe weather.
To see insulated vinyl siding in action and learn more about its benefits, watch our embedded video below.
For more information on siding options or to get a quote, contact Right Now Roofing today!
Justin Hansen is a seasoned professional in the roofing and siding industry, boasting over 15 years of hands-on experience. Starting his career in residential roofing, Justin quickly established a reputation for meticulous attention to detail and superior craftsmanship. His commitment to quality and excellence propelled him into more complex commercial projects, where he consistently delivered outstanding results.
Winter Proof Your Roof Now: Beat the Cold in Minneapolis/St. Paul
One of the biggest questions we get as a roofing contractor is:
“Should I start thinkging about the winter-proofing my roof even though it’s summer?”
As we enjoy the summertime here in Minneapolis/St. Paul, the last thing on most people’s minds is the freezing winter ahead. However, summer is the perfect time to prepare your roof for the harsh winter conditions that come with living in the Twin Cities. By taking proactive steps now, you can save yourself from costly repairs and ensure your home remains warm and cozy all winter long. Let’s dive into some fun yet informative tips to winter-proof your roof!
1. Inspect Your Roof Thoroughly
Why Inspect Now? Summer weather provides optimal conditions for a thorough roof inspection. Plus, any repairs needed are easier to handle without the risk of ice and snow.
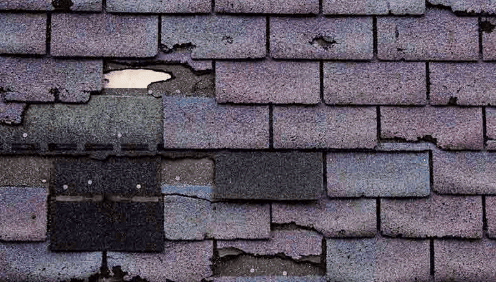
What to Look For:
- Shingles: Check for any missing, cracked, or curling shingles.
- Flashing: Ensure the flashing around chimneys, vents, and skylights is secure and undamaged.
- Attic: Inspect the attic for signs of leaks or water damage.
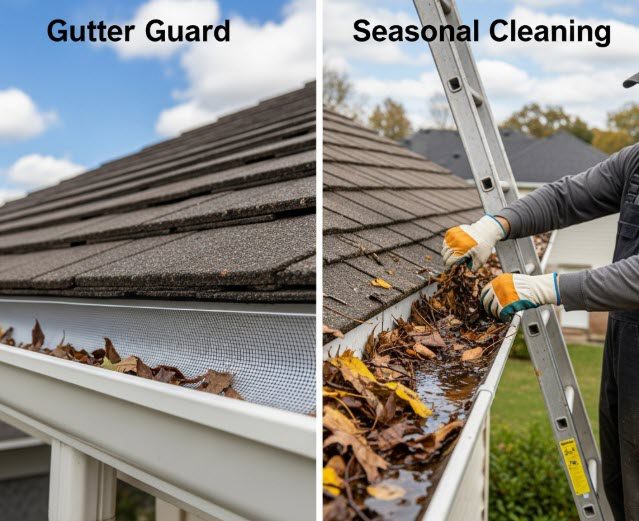
2. Clean Your Gutters and Downspouts
Why Gutters Matter: Clean gutters help prevent water buildup that can lead to ice dams—a common winter headache.
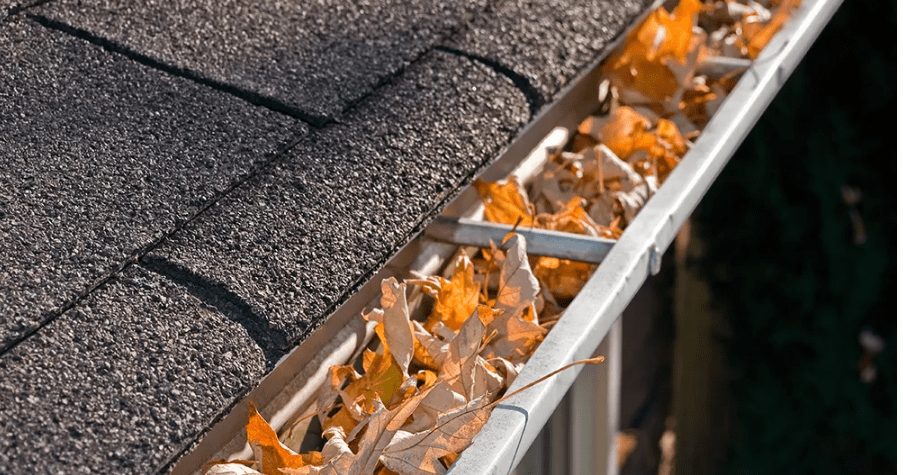
Gutter Cleaning Tips:
- Remove Debris: Clear out leaves, twigs, and other debris.
- Check Drainage: Ensure water flows freely through your downspouts and away from your home’s foundation.
3. Trim Overhanging Branches

Why Trim Trees?: Prevent branches from breaking off during winter storms and causing roof damage. Plus, it reduces the debris that clogs gutters.
4. Seal Roof Penetrations
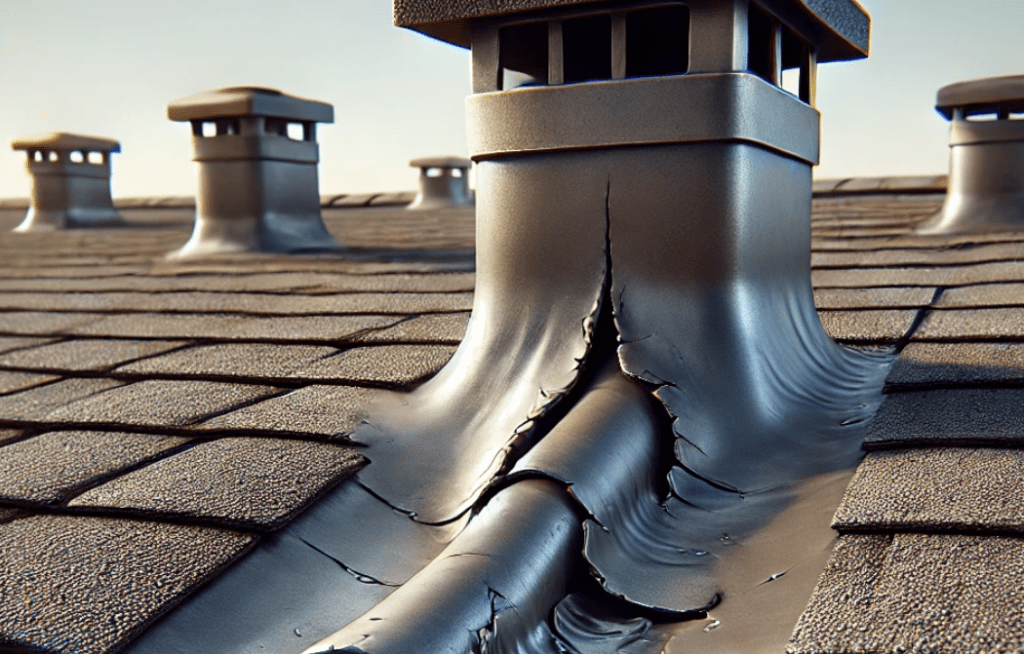
Seal It Up: Inspect areas where vents, chimneys, and skylights penetrate the roof. Reseal any gaps with roofing cement or silicone caulk to prevent leaks.
5. Insulate and Ventilate Your Attic

Keep it Cozy: Proper insulation and ventilation keep your attic temperature stable, preventing ice dams and reducing heating costs.
Key Actions:
- Insulate: Ensure your attic is well-insulated.
- Ventilate: Maintain adequate ventilation to keep the attic cold and dry.
6. Install Heat Cables
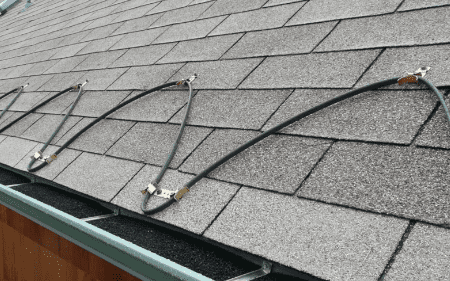
Melt the Ice: Heat cables can prevent ice dams by melting snow and ice along your roof’s edges. Professional installation is recommended for safety and effectiveness.
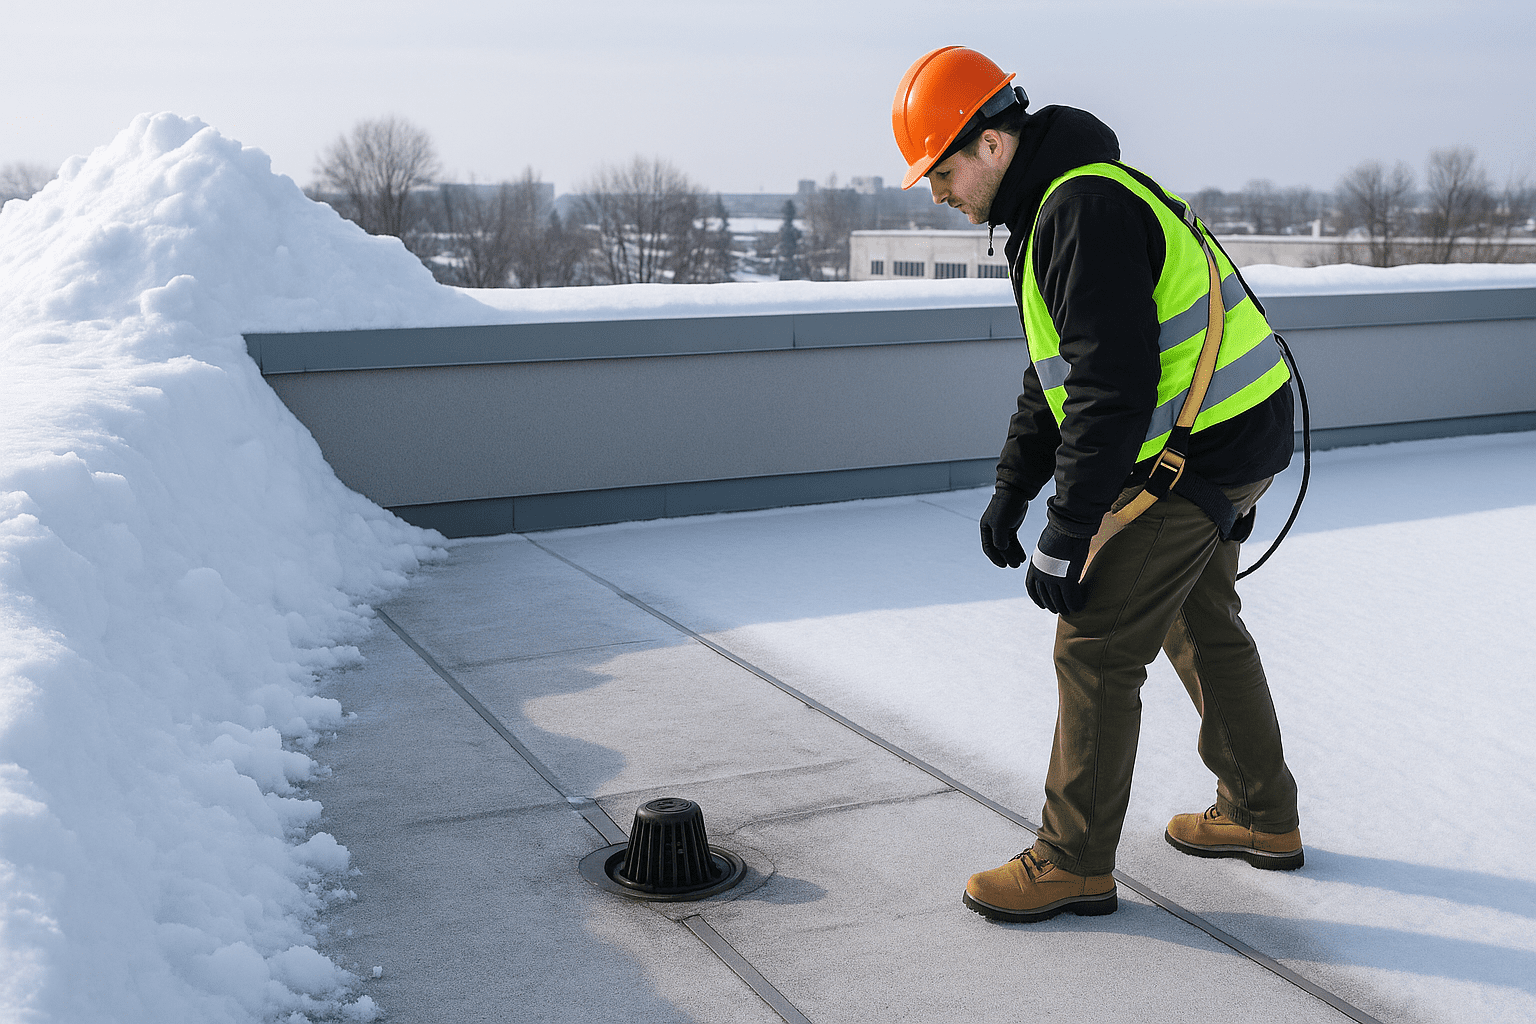
7. Prepare for Snow Removal
Tools of the Trade: Invest in a roof rake to safely remove snow buildup. Avoid climbing on your roof—safety first!
8. Schedule a Professional Roof Inspection
Expert Insight: A professional roofer can spot potential issues you might miss. Regular maintenance can extend your roof’s lifespan and prevent major problems.
Call Today (651) 372-4404
9. Prepare an Emergency Repair Kit
Be Ready: Have a basic repair kit with roofing tarps, a hammer, roofing nails, and roof sealant for quick fixes during winter storms.
Winter Roofing Facts
- Fact 1: Ice dams form when the roof’s surface temperature is uneven, causing snow to melt and refreeze at the eaves.
- Fact 2: Proper attic insulation can save up to 15% on heating and cooling costs (EnergyStar).
- Fact 3: Roof leaks are more common in winter due to freeze-thaw cycles.
- Fact 4: Heat cables can reduce ice dams by 90% when properly installed (US Department of Energy).
Comparison Chart: Roof Maintenance Costs vs. Repair Costs
| Maintenance Task | Cost (Approx.) | Potential Repair Cost (If Ignored) |
|---|---|---|
| Roof Inspection | $150 – $300 | $500 – $3,000 (major repairs) |
| Gutter Cleaning | $70 – $200 | $500 – $2,000 (water damage) |
| Trimming Trees | $200 – $700 | $1,000 – $5,000 (roof damage) |
| Attic Insulation | $1,000 – $3,000 | $5,000 – $10,000 (ice dam repair) |
| Heat Cable Installation | $500 – $1,500 | $2,000 – $5,000 (ice dam damage) |
Conclusion
Winter may feel far away, but summer is the ideal time to prepare your roof for the cold months ahead. By following these tips, you can ensure your home remains safe, warm, and damage-free all winter long. Don’t wait until the first snowfall—start your roof winter-proofing today!
For a professional roof inspection and maintenance services, contact Right Now Roofing. We’re here to help you stay one step ahead of winter’s chill!
Sources:
- EnergyStar. “Sealing and Insulating.” https://www.energystar.gov
- U.S. Department of Energy. “Preventing Ice Dams.” https://www.energy.gov
Justin Hansen is a seasoned professional in the roofing and siding industry, boasting over 15 years of hands-on experience. Starting his career in residential roofing, Justin quickly established a reputation for meticulous attention to detail and superior craftsmanship. His commitment to quality and excellence propelled him into more complex commercial projects, where he consistently delivered outstanding results.